
Our social media feeds are littered with DIY decorating ideas and homemade wrapping paper inspiration. We’re as familiar with buying from small creators on Etsy as we are the big brands. There is no doubt that smaller scale can be better and certainly more rewarding. When it comes to crafting, it’s all about repurposing what you’ve already got lying around the house.
Our Head of Home Economics at The Mary Erskine School, Mrs Campbell, has challenged us all to be creative this festive season. In her mind, the joy of crafting is simple. Not only does it save money, it can assist with fine motor skills and has a positive impact on mental health. You could even challenge the family to a crafting competition on Christmas Eve!
Mrs Campbell has shared a simple homemade pinwheel decoration you can try at home. It makes use of old scraps of material we all have lying around the house – these could be old shirts, scarves, ribbon – you name it, if it’s not needed, use it! Follow these step by step instructions for your own dose of family fun…
Double Sided Pinwheel Decorations
Fabrics needed:
- Two coordinated printed fabrics (cotton is best)
- Double sided fusible Bondaweb – you can easily pick this up in stores such as Hobbycraft or you can buy it online
- Buttons
- Thread
- Embroidery thread
Equipment needed:
- Iron & ironing board
- Cutting mat – this could be a chopping board
- Rotary cutter – a Stanley knife or a very sharp pair of scissors will do!
- Ruler
- Disappearing ink fabric marker or a pencil
- Scissors
- Needle
Instructions
1. Make a three layer sandwich out of two pieces of fabric plus the Bondaweb
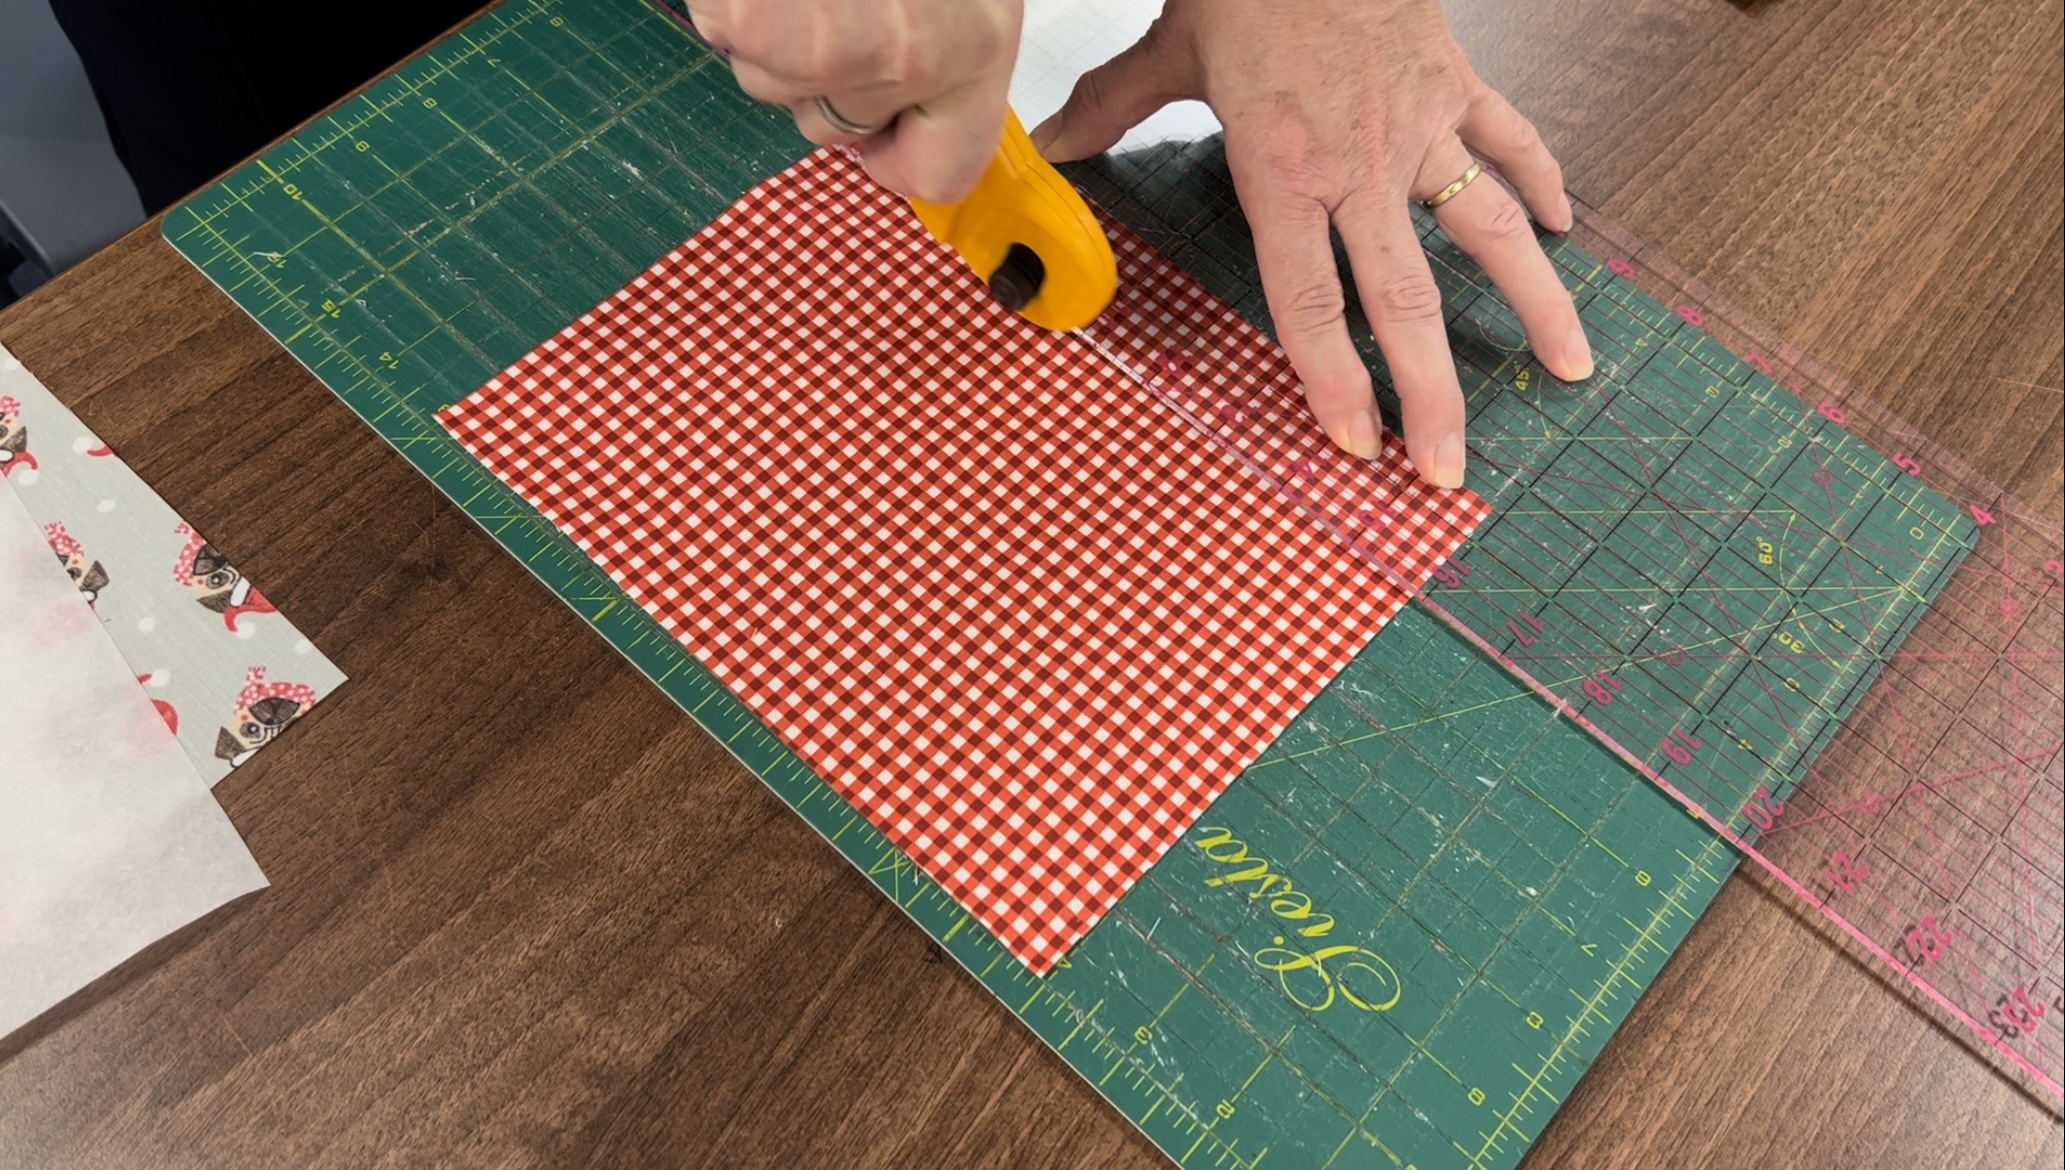
Each pinwheel is made from a 3-inch square of fabric, which is attached to Bondaweb, plus another 3-inch square of contrasting fabric. (You may like to cut out 6-inch squares of the fabrics and Bondaweb to produce 4 sets of pinwheel decorations).
Cut out a 3-inch square of patterned fabric number 1
Cut out a 3-inch square of contrasting patterned fabric number 2
Cut out a 3-inch square of Bondaweb
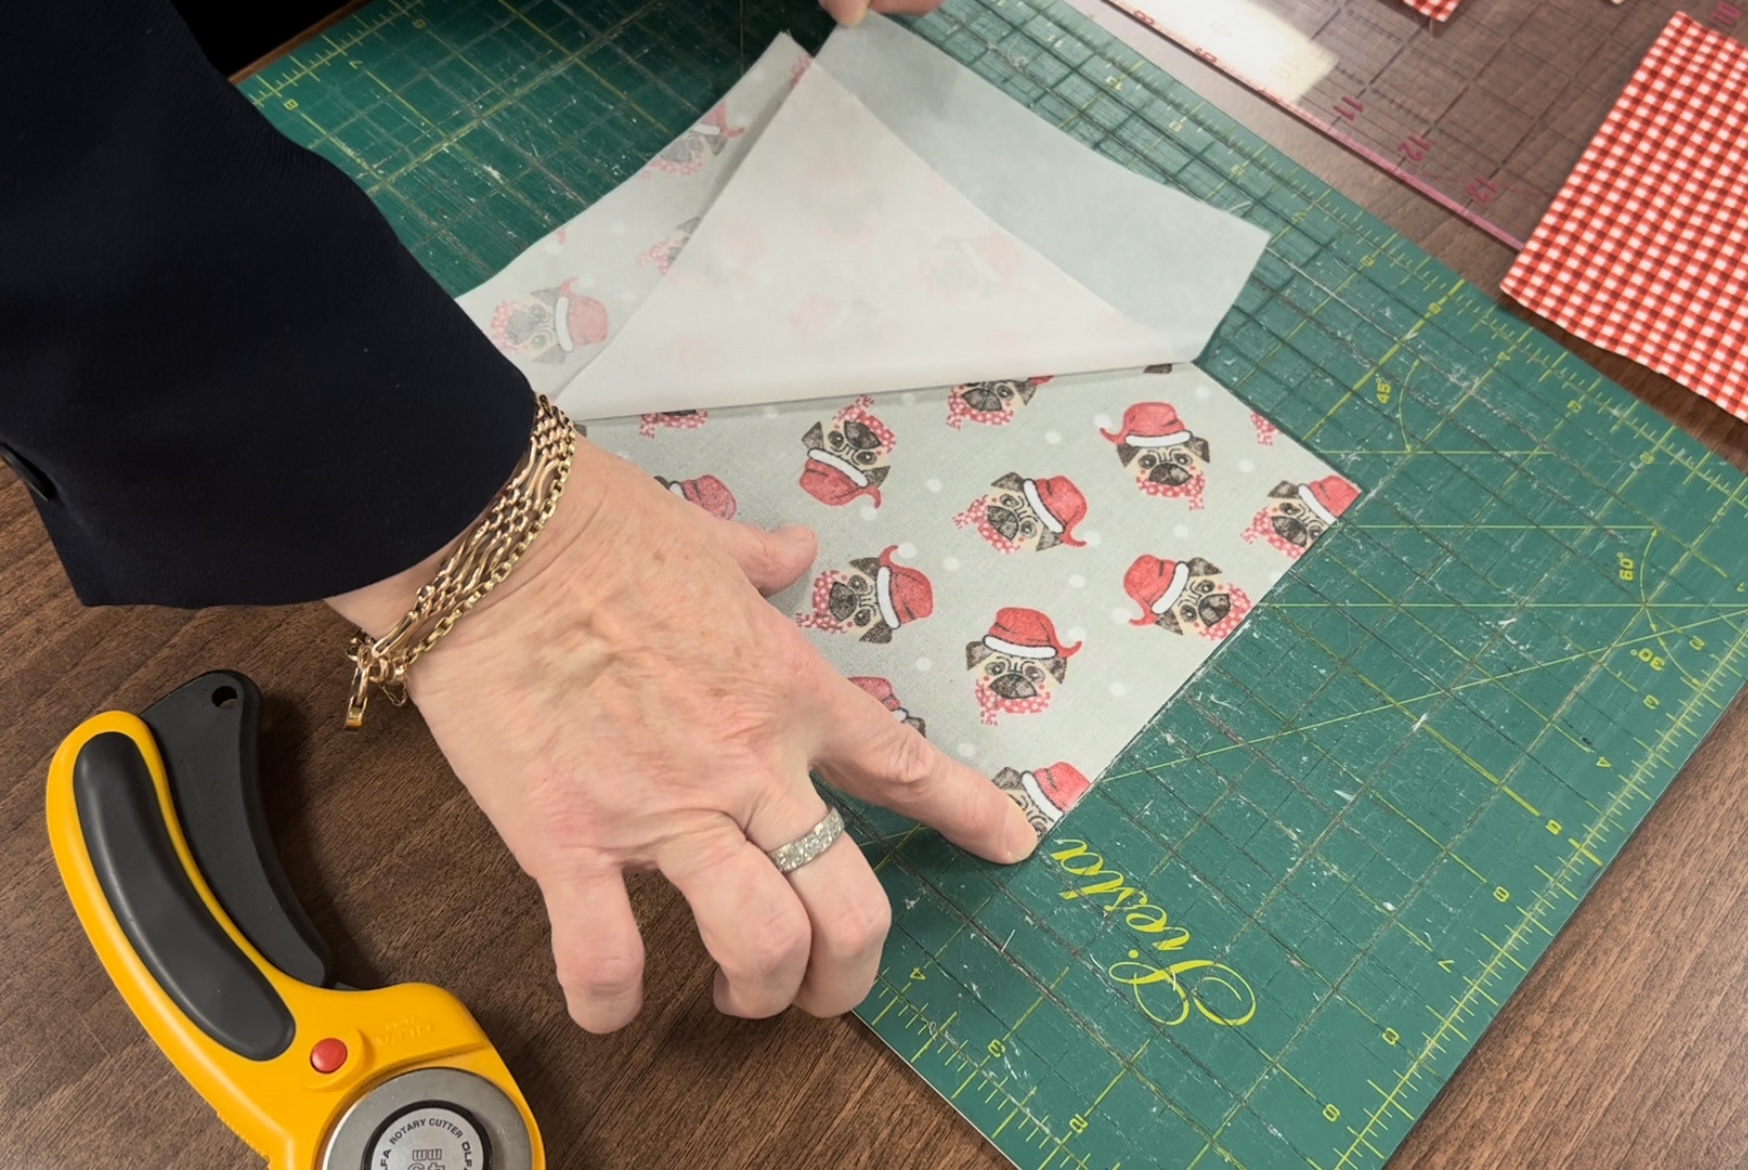
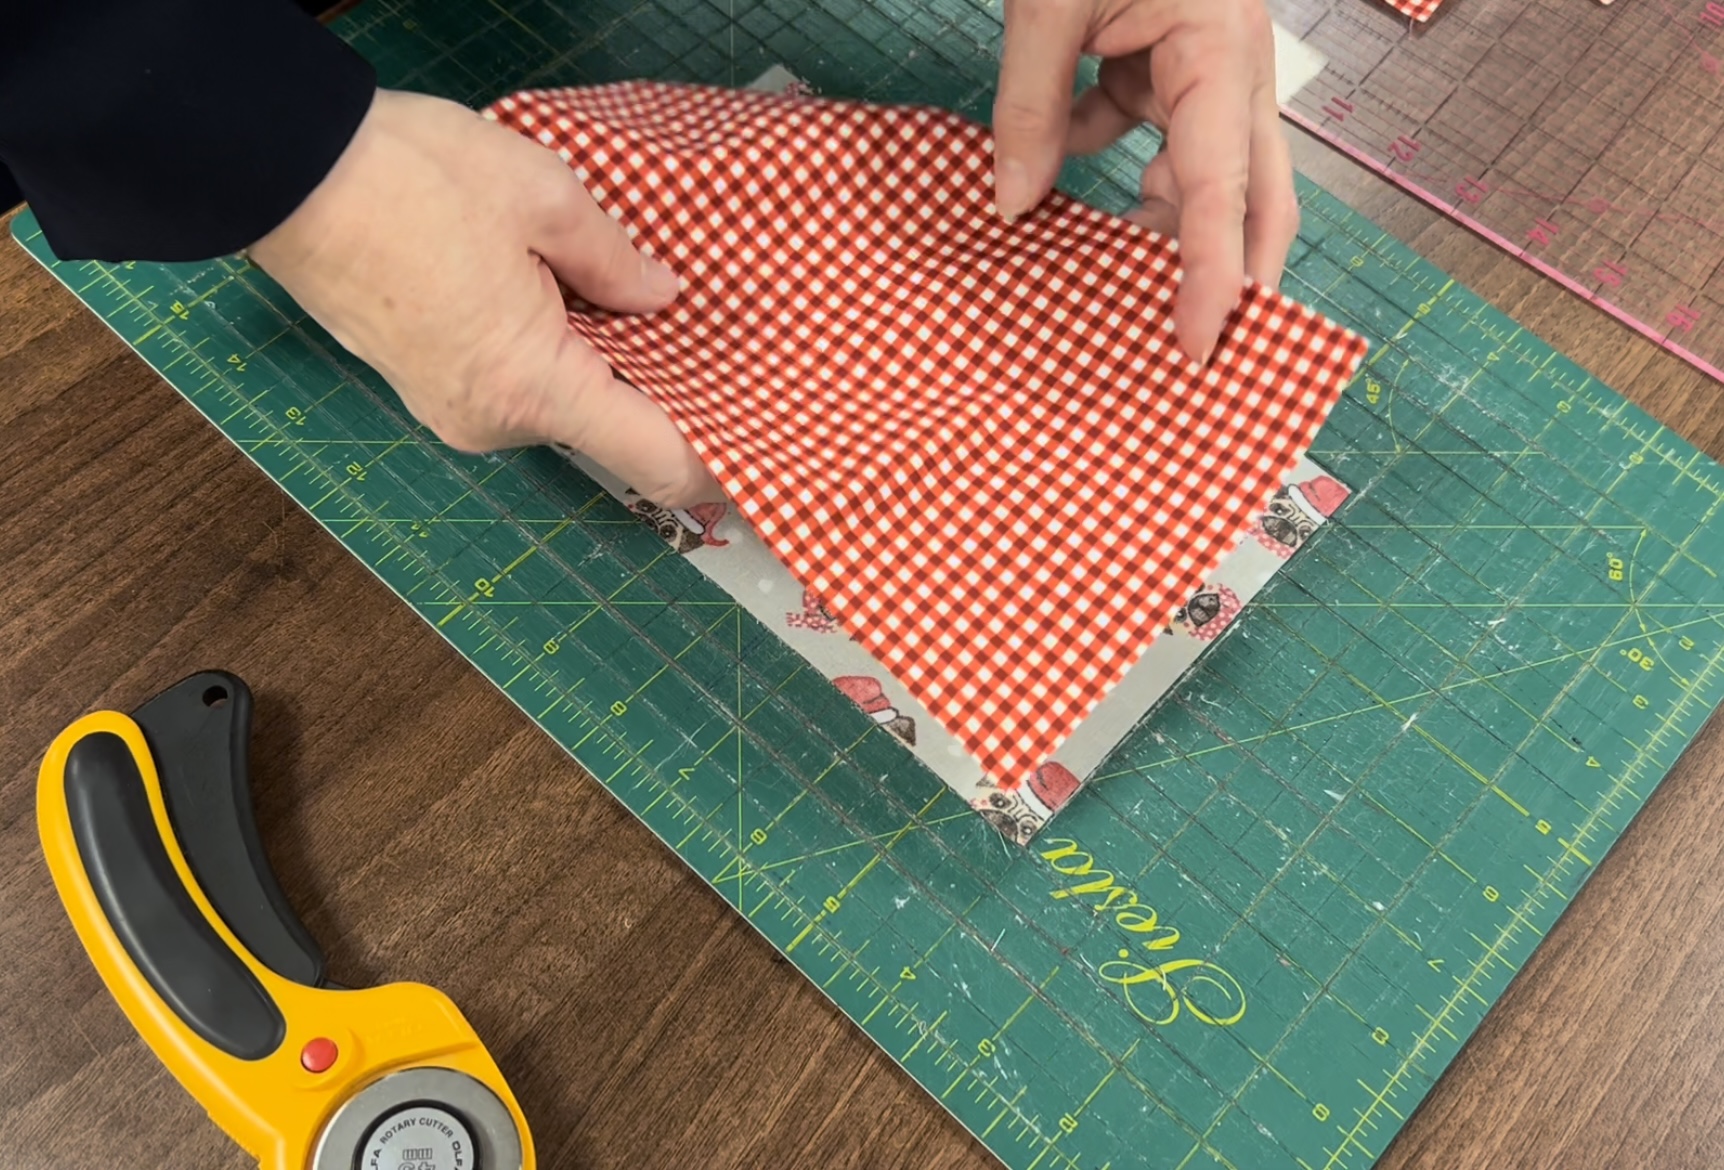
Place one square of patterned fabric face down, wrong side facing up. Place the glue side of the Bondaweb on the wrong side of the fabric. Press with a hot iron. Leave for a few minutes before peeling off the backing paper. Place the remaining piece of fabric on top and press once again with the hot iron.
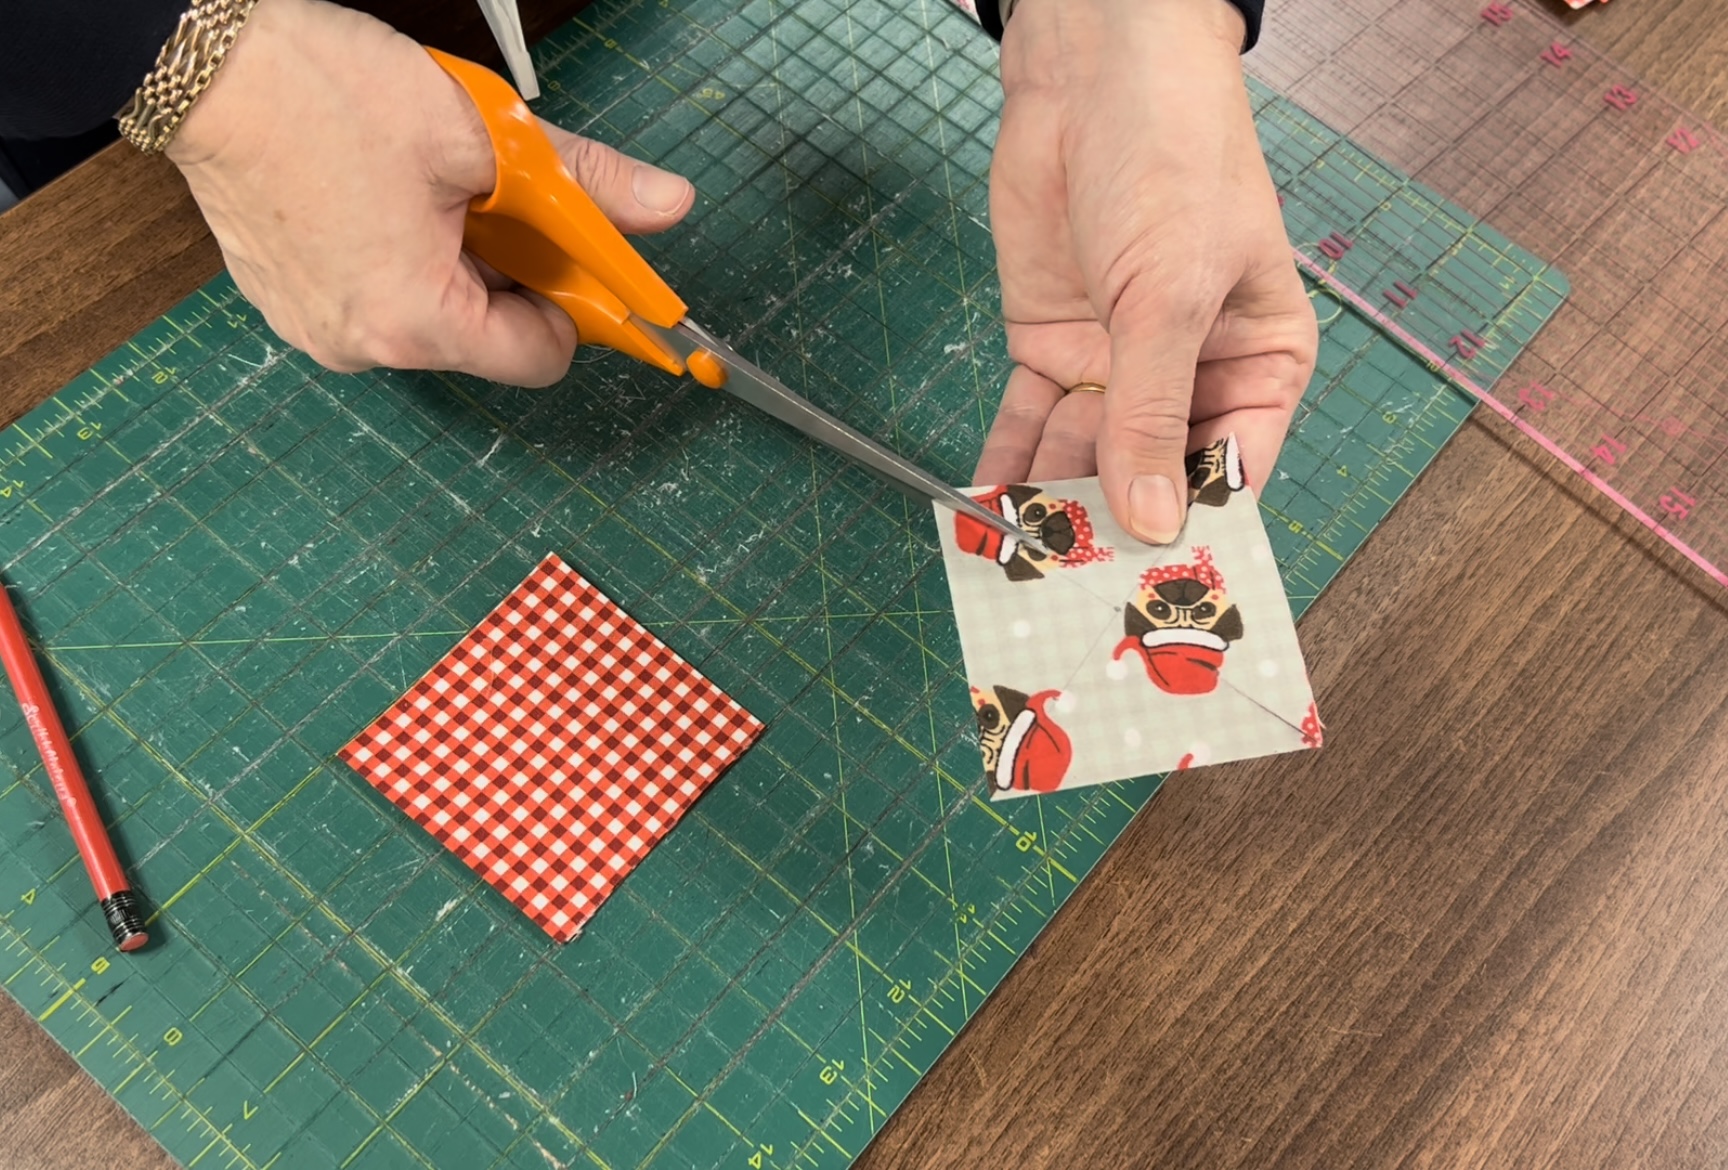
2. Mark with an X and then cut the lines

Use a disappearing ink marker or a very faint pencil. Line your ruler up diagonally from one corner to the opposite corner and draw a line. Repeat for the opposite two corners. Make a mark in the centre point where the lines intersect.
Using the centre point to help you, make a mark halfway between the centre and each of the four corners. Using sharp scissors, cut from the corner, along the line, towards the mark that you just made. Repeat this for each corner.
3. Make a knot
Thread your needle with a double thickness of thread. Make a knot at the bottom of the loop of thread. Starting at the front of the fabric at the centre point, stitch through the fabrics bringing the needle back up to the front once again.
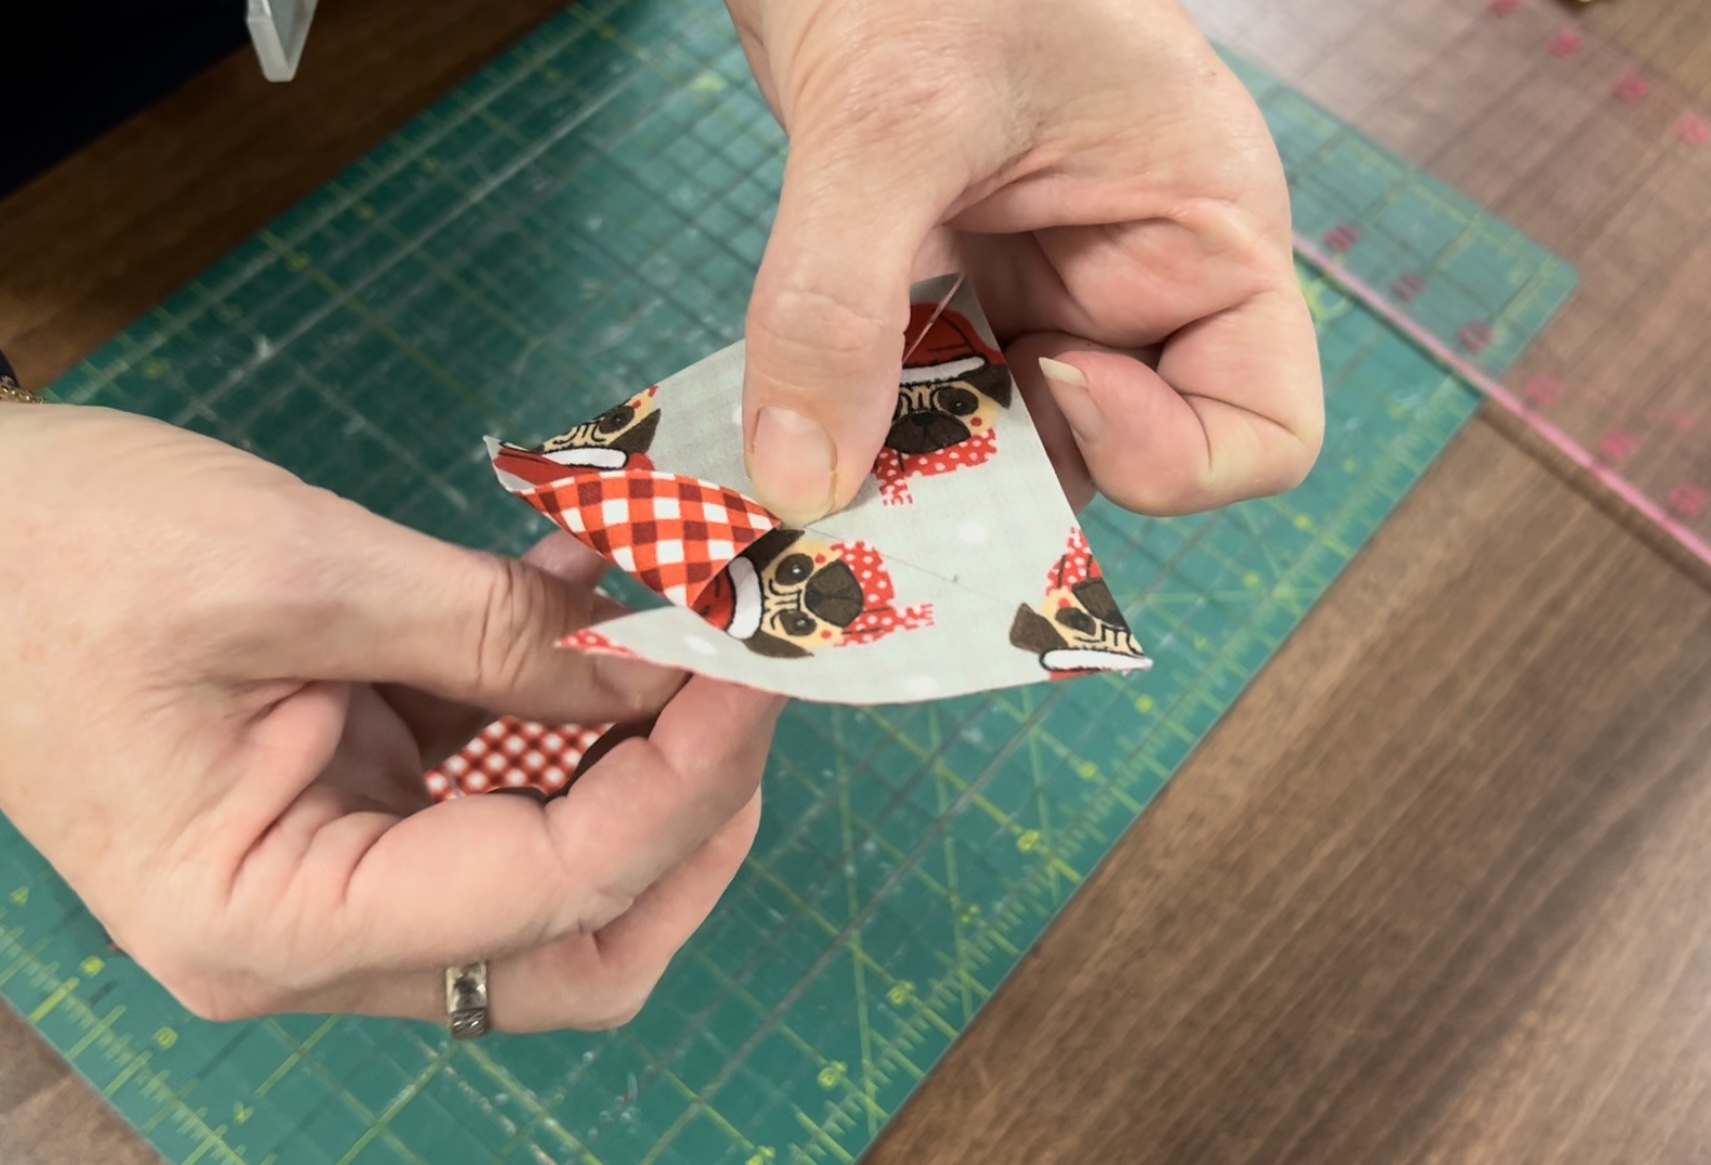
4. Fold and stitch the pinwheels in position
Fold over one corner of the fabric along the drawn line, so that the outer point folds inward to touch the centre point. The back fabric should now be facing outward on this piece and the outer fabric will now be hidden and facing each other. Run your finger along the fold, with sufficient pressure just to crease it slightly. Bring the needle up through the corner of the folded over fabric, so that the thread comes up from the bottom and through the fabric. Repeat this for each of the other cut corners until the pinwheel shape is formed. Once all petals have been formed, make a stitch across the centre, and bring the needle through to the back of the decoration, then to the centre front.
5. Stitch the button
Slide the threaded needle through the button. Position the button in the centre so that it covers all 4 corner points. Secure the button in position with a few stitches through all layers of the fabric. Finish off the threads and secure to the back of the pinwheel.
6. Attach the loop
Cut a length of embroidery thread. Tie it around the button, then make a knot at the top so that it can be hung on the branches of your Christmas Tree. Trim off any excess threads.
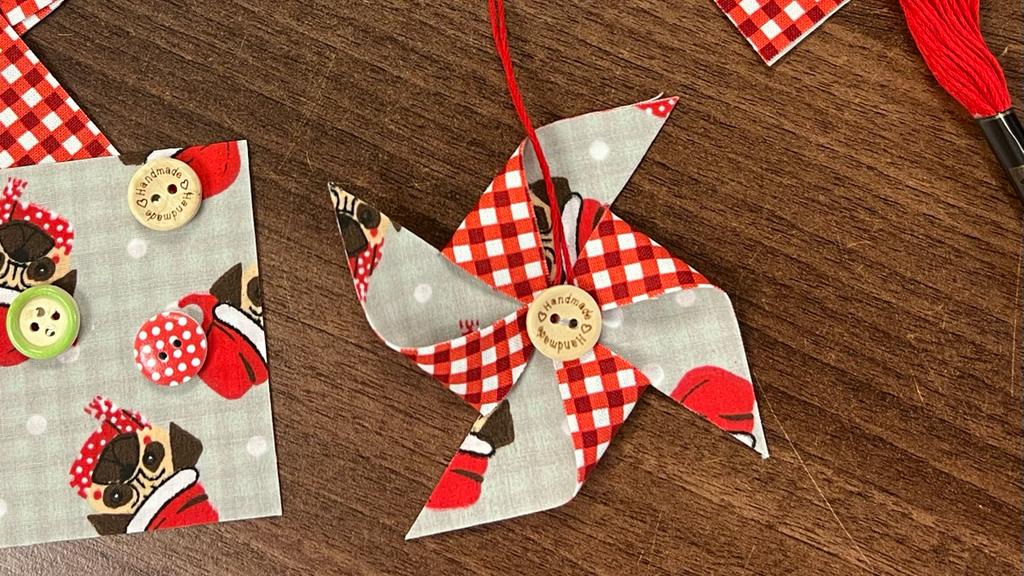
And there you have it! You've now got a beautiful homemade decoration to keep for years to come.